

Do you know that how good of a player you are in COUNTER TERRORISM 3D and how often you complete a mission or get wiped out in the first hallway highly depends on how well you understand the keypad controls?
Most people who played this game back in the J2ME era either rushed through it blindly or gave up after the third mission because they were pressing the wrong buttons at the wrong time.
So today I will give you a complete breakdown that will improve your gameplay a lot. I have played this game for hours on my old Nokia, died countless times in the warehouse level, and finally figured out the exact rhythm you need to beat every mission. So let’s get started.
Game Table
| Detail | Info |
|---|---|
| Title | COUNTER TERRORISM 3D |
| Platform | Java 2 Micro Edition |
| Genre | First-Person Shooter |
| Era | Late 2000s – Early 2010s |
| Typical Resolutions | 128×160, 176×220, 240×320 |
| Game Modes | Campaign / Mission-based |
| Controls | Numeric Keypad (2, 4, 6, 8, 5, 1, 3, 7, 9, 0, *, #) |
| Campaign Length | Approx. 10–12 missions |
History & Background: The FPS Revolution
Back when smartphones did not exist for most people, Java games were the pinnacle of mobile entertainment. Putting a full 3D first-person shooter on a feature phone was not easy. The processors were slow, the memory was measured in kilobytes, and the screen was tiny.
COUNTER TERRORISM 3D was one of those ambitious titles that tried to squeeze a PC-style tactical shooter into a .jar file that was under 500KB. The result was surprisingly solid. You got textured corridors, enemy soldiers, multiple weapons, and mission objectives all running on a device that could barely handle a color wallpaper.
That is why this game still has a cult following among retro mobile gaming fans. It was not just a game; it was proof that your Nokia could do things you never thought possible.
GAMEPLAY
Key Features Breakdown
Before we dive into the controls, you need to understand what you are working with. The game runs on a custom 3D engine that renders corridor-based levels. You do not get open-world freedom. Instead, you get tight, linear missions where every door crossing matters.
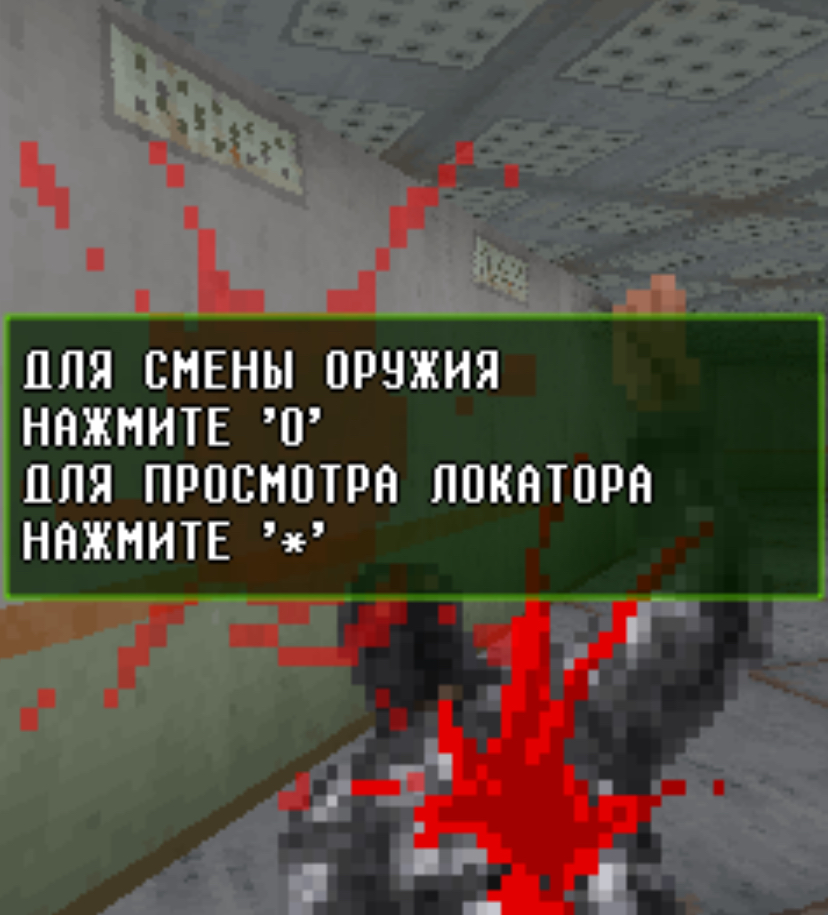
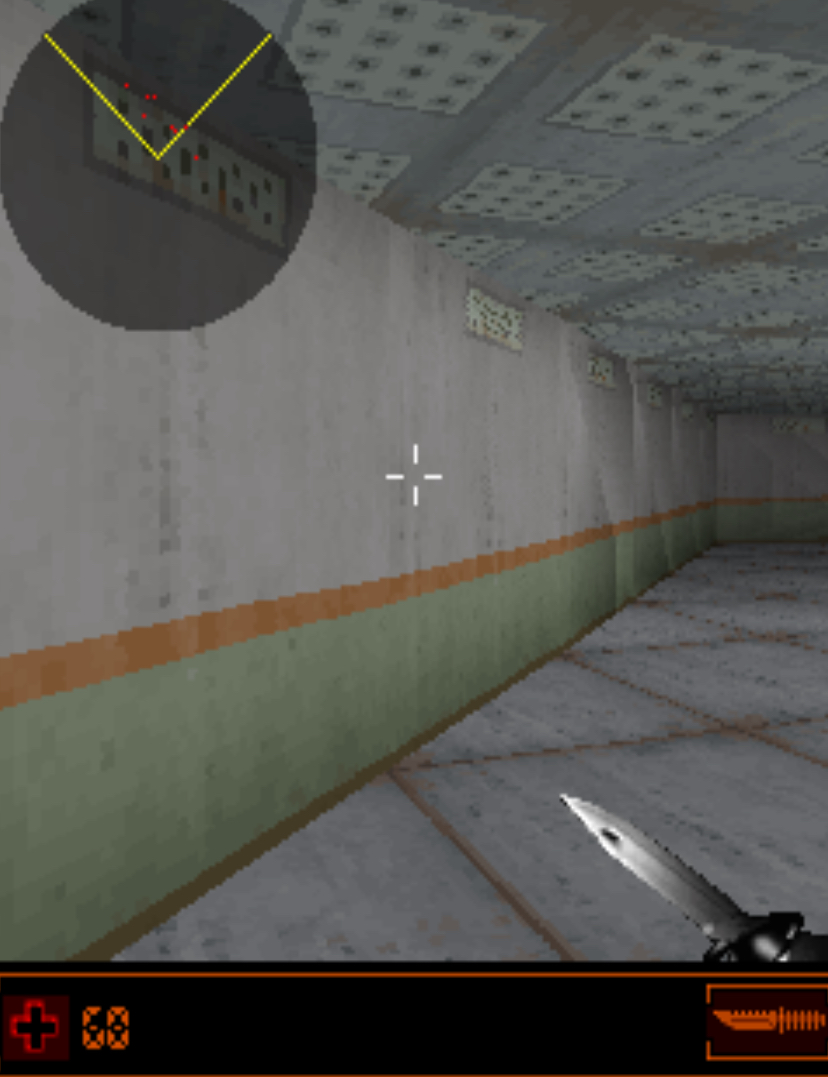
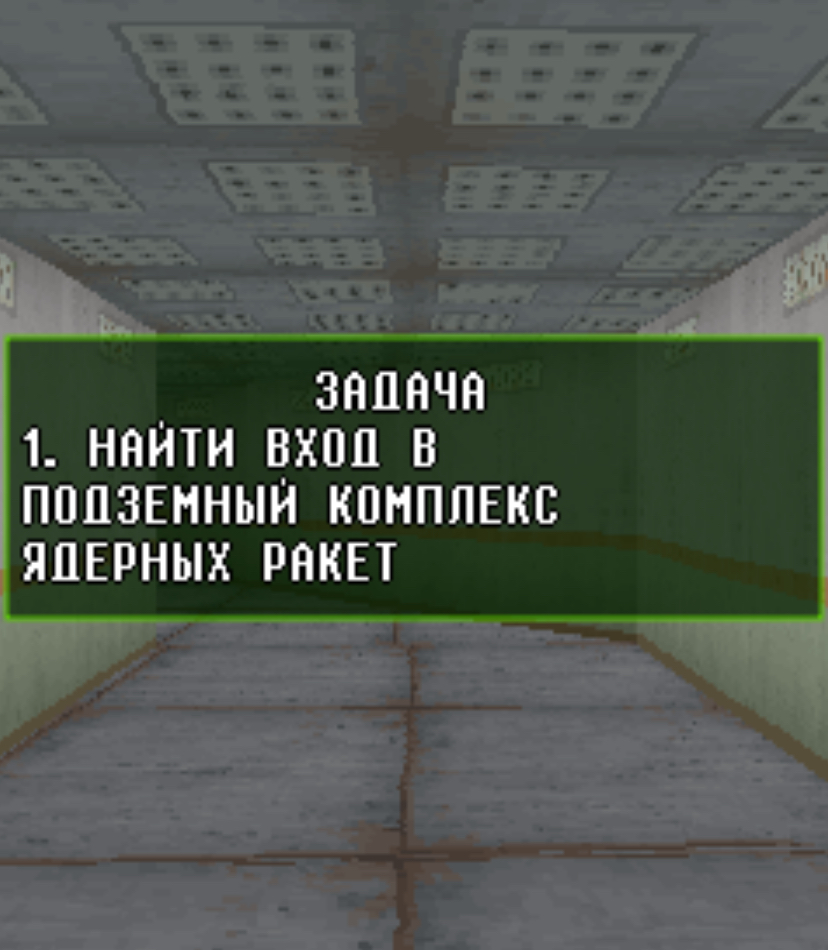
The mission structure follows a classic formula: you spawn with a primary weapon and a pistol, you get an objective like “eliminate all hostiles” or “defuse the bomb,” and you navigate from point A to point B while surviving ambushes. The HUD shows your health bar, ammo count, and a small radar in the corner that displays red dots for enemies. That radar is your best friend. Ignore it, and you will walk into a room with three soldiers waiting for you.
The weapon roster includes a pistol, an assault rifle, a shotgun, and occasionally a sniper rifle or grenades depending on the mission. The enemy variety is smarter than it looks. Some enemies rush you, some hold position behind cover, and some pop out from corners exactly when you think the room is clear.
Main Menu Navigation — Button by Button
When you launch the game, you will see the title screen. Here is exactly how to get into the action.
Press 5 to move past the logo screen. Once you are at the main menu, use 2 and 8 to scroll up and down through the options. You will see New Game, Continue, Settings, and Help. To select anything, press 5. If you want to go back from a sub-menu, press # or sometimes 0 depending on your phone model.
If you are starting fresh, scroll to New Game with 2, press 5, and the game will ask you to select a difficulty. I recommend starting on Normal. Scroll to it with 2 or 8, press 5, and Mission 1 will load. If you have a saved game, scroll to Continue, press 5, and you will jump straight to your last checkpoint.
In Settings, you can toggle sound and music. I always turn the music off and keep the sound on. Why? Because the audio cues tell you when an enemy is around the corner. The music just drowns that out.
Complete Control Scheme (Numeric Keypad)
This is where most players fail. They assume the controls are clunky, but actually, they are precise once you know the layout.
- 2 = Move forward
- 8 = Move backward
- 4 = Strafe left / turn left
- 6 = Strafe right / turn right
- 5 = Fire weapon / Confirm selection
- 1 = Switch to previous weapon
- 3 = Switch to next weapon
- 7 = Rotate camera left (in some versions)
- 9 = Rotate camera right (in some versions)
- 0 = Jump or crouch (contextual, varies by level)
- * = Reload / Map / Secondary action
- # = Pause menu / Back
On most phones, 2, 4, 6, and 8 handle both movement and aiming. Since the game uses a locked center crosshair, your movement is also your aim. If an enemy is slightly to your left, you tap 4 to strafe toward them while keeping the crosshair centered. It feels strange at first, but after one mission, it becomes natural.
How to Play — Step-by-Step Combat Walkthrough
Now let me walk you through an actual mission the way I played it. I will use Mission 2 as an example because it teaches you everything you need to know.
Step 1: The Spawn
I loaded the mission. I was standing in a narrow hallway with a pistol in hand and 30 bullets. The objective said “Clear the warehouse.” I pressed 2 to move forward. Immediately, the radar in the top-right showed a red dot ahead. I slowed down.
Step 2: First Contact
I approached the corner. I tapped 4 to inch sideways so I could see around the wall without exposing my full body. An enemy soldier was standing there. I pressed 5 once. The pistol fired. I missed because he was moving. He started shooting back. I quickly tapped 6 to dodge sideways, then pressed 5 three times in rapid succession. Two shots connected, and he went down.
Step 3: Weapon Upgrade
I moved forward and found an ammo box on the ground. I walked over it and the rifle automatically appeared in my hands. Now I had 60 rounds. I pressed 3 to make sure the rifle was selected. Here is a tip: always check your active weapon after picking up a new one. Sometimes the game keeps you on the pistol, and you do not want to enter a big room with the wrong gun.
Step 4: Clearing the Warehouse
I reached a double door. The radar showed two red dots inside. I did not rush in. Instead, I stood to the side of the door, tapped 2 slightly to open the door, and immediately tapped 8 to step back. One enemy saw me and started firing, but he was hitting the door frame. While he was shooting, I held my position and tapped 5 in bursts. The crosshair was already lined up on the door. He ran out of ammo or paused, and I dropped him with three shots.
The second enemy was behind a crate. I could not hit him from the door. So I used a simple tactic: I pressed 2 to enter the room, immediately tapped 4 to strafe left behind a pillar, then tapped 6 to peek out and fired with 5. He stood up to shoot, and I caught him mid-stand. That is the key. You never stand in the open. You tap 4 and 6 to peek and hide.
Step 5: The Ambush
I thought the room was clear. I walked toward the exit door. But crossing that door triggered a spawn. Two enemies appeared behind me. I heard the gunfire sound cue. I panicked for a second, then remembered: do not turn around slowly. I tapped 8 to backpedal, pressed 3 to switch to the shotgun because they were close, and mashed 5. The shotgun spread took both of them down in four shots. If I had stayed on the rifle, I would have been dead because the rifle needs precise aiming at that range.
Step 6: Objective Complete
The final area had the bomb objective. I approached the glowing marker on the floor. A prompt appeared. I pressed 5 to interact. A timer started. I had to defend the position for 30 seconds while enemies rushed from the far door. I positioned myself behind a flipped table, tapped 4 and 6 to sweep my aim across the doorway, and fired 5 every time a red dot appeared on the radar. When the timer hit zero, the mission complete screen popped up. I pressed 5 to continue to Mission 3.
That is how you play. You do not just hold 2 and run. You check the radar, you peek corners with 4 and 6, you switch weapons with 1 and 3, and you always leave yourself an escape route with 8.
Mission Types & Advanced Tactics
The game throws three main mission types at you, and each one needs a different approach.
Elimination Missions: These are straightforward, but the trick is spawn management. Enemies do not all exist at the start. They trigger when you cross invisible lines. So move slowly. Clear one area completely, check the radar for red dots, then advance. If you rush, you trigger two or three groups at once and get surrounded.
Bomb Defusal Missions: You have a timer. My strategy is to ignore the timer at first and clear every room between me and the bomb. Once the path is safe, I run back to the start, grab any health I missed, then sprint to the bomb. After you press 5 to start defusal, find the nearest cover and watch the radar. Enemies always come from the direction you did not clear.
Hostage Rescue Missions: These are the hardest because the hostages can die if you are careless. Never use grenades or the shotgun near them. Use the rifle and tap 5 for single, precise shots. If an enemy is standing next to a hostage, strafe with 4 or 6 until you have a clean line of fire. Do not spray.
Weapon Guide — Choosing the Right Tool for the Fight
Pistol: This is your infinite fallback. It is weak, but it is accurate. I use it on single enemies in the early hallway to save rifle ammo. Two or three headshots with the pistol are better than wasting ten rifle rounds.
Assault Rifle: The balanced choice. Good damage, good range, decent fire rate. This is your default weapon for 80% of the game. Learn to tap 5 instead of holding it. The recoil on this game is not visual, but the spread gets wider if you hold the button too long.
Shotgun: Devastating up close, useless beyond ten virtual meters. I switch to this with 1 or 3 when I know an enemy is behind a door I am about to open. One blast as they rush through the doorway saves you half a health bar.
Sniper Rifle: Rare, but appears in outdoor missions. Since the game auto-aims slightly, the sniper is actually easier to use than it should be. Stand still, line up the crosshair, and tap 5. If you move while firing, the shot goes wild.
Grenades: If you have them, they are mapped to * or 7 depending on the version. Use them around blind corners. I once threw a grenade over a crate wall in Mission 5 and wiped out two campers who had been killing me for twenty minutes. Best feeling in the game.
Enemy AI Patterns & Counter-Strategies
After playing every mission multiple times, I noticed the enemies follow specific patterns.
The Rusher: This guy sprints at you in a straight line. Do not backpedal in a straight line. He will catch you. Instead, tap 4 or 6 to sidestep while firing 5. Circle around him. He cannot turn fast enough to track you.
The Camper: He hides behind cover and only pops out when you enter his line of sight. The counter is to bait him. Tap 2 to approach his corner, then immediately tap 8 to retreat. He will pop out and fire at nothing. While he is exposed, step forward with 2 and tap 5 twice.
The Sniper: He stands far away and has perfect accuracy. You cannot out-shoot him at range. The trick is to zig-zag. Tap 4, then 6, then 4 while moving forward with 2. Never hold 2 in a straight line. Once you close the gap, he switches to a pistol, and you win easily.
The Flanker: Some missions have enemies that spawn behind you if you advance too far. Check your radar constantly. If you see a red dot behind you, do not try to turn around slowly. Backpedal with 8 toward the nearest cover, then rotate and engage.
Pro Techniques — Movement & Positioning Like a Veteran
Here are the advanced moves that separate beginners from players who finish the campaign.
Corner Peeking: Never walk through a doorway in the center. Always approach from the side, tap 2 to expose just enough of your view to see inside, then decide if you want to enter. If you see three red dots, back out with 8 and find another angle.
Reload Discipline: When you have a quiet moment, press * to reload. Do not wait until you are at zero bullets. There is nothing worse than walking into a room, pressing 5, and hearing a click because you forgot to reload after the last fight.
Weapon Pre-Switching: Before you open a door, decide which weapon you want. Close door? Switch to shotgun with 3. Long hallway? Switch to rifle. This saves you precious seconds in the first encounter.
Radar Reading: The red dots are not just enemy positions; they are enemy orientations. If a dot is facing away from you, you have a free shot. If it is facing you, expect return fire the moment you tap 5.
Comparison — COUNTER TERRORISM 3D vs. 3D Contr Terrorism
I also spent a lot of time with another J2ME shooter called 3D Contr Terrorism, and I think the comparison is useful because both games try to do the same thing but feel completely different.
Control Feel: COUNTER TERRORISM 3D has smoother turning. In 3D Contr Terrorism, pressing 4 or 6 feels like you are dragging the camera through mud. COUNTER TERRORISM 3D responds faster, which makes close-quarters combat more manageable.
Mission Design: 3D Contr Terrorism loves wide-open areas where enemies snipe you from across the map. COUNTER TERRORISM 3D keeps things tight and corridor-based. I prefer the tighter design because it plays to the strengths of the keypad. You do not need precise mouse aiming when the fight happens in a hallway.
Difficulty: 3D Contr Terrorism is brutally unfair. Enemies have perfect accuracy, and health kits are rare. COUNTER TERRORISM 3D is challenging but fair. If you die, it is usually because you made a positioning mistake, not because the game cheated.
My Verdict: I kept coming back to COUNTER TERRORISM 3D because it respects the player. 3D Contr Terrorism felt like it was punishing me for owning a feature phone. If you only have time for one J2ME tactical shooter, make it COUNTER TERRORISM 3D.
Beginner Mistakes to Avoid
These are the errors I made so you do not have to.
Mistake 1: Holding 5 Down Like an Auto-Fire Button
The game does not reward spray-and-pray. Tap 5 in rhythm. If you hold it, your shots scatter, and you waste ammo. I died in Mission 4 three times because I held 5 and ran dry while two enemies were still standing.
Mistake 2: Ignoring the Radar
That tiny red dot display is more valuable than your weapon. I used to charge into rooms without looking at the radar. Then I started checking it before every door, and my survival rate doubled. Check the radar, plan your entry, then move.
Mistake 3: Using the Rifle for Every Enemy
You have a pistol for a reason. When a single weak enemy appears in a hallway, switch to the pistol with 1 or 3 and conserve your rifle rounds for the big rooms. Running out of rifle ammo in the middle of an ambush is a death sentence.
Mistake 4: Standing Still in the Open
I see new players stop moving to aim. Never stop. Even if you are firing, tap 4 and 6 gently. The enemy AI has a harder time hitting a moving target. Standing still makes you a free headshot.
Mistake 5: Forgetting to Reload Between Rooms
After a fight, your instinct is to rush forward. Stop. Press * to reload. Entering the next encounter with a half-empty magazine means you will be fumbling for the reload button while enemies are shooting you.
Mistake 6: Rushing Past Spawn Triggers
The game places invisible lines that wake up enemy groups. If you sprint with 2 held down, you trigger multiple groups at once. Walk. Peek. Trigger one group, deal with it, then move forward. Patience is literally a survival mechanic here.
Hidden Features, Easter Eggs & Pro Tips
Here is some original value you will not find in the help menu.
The Safe Peek Glitch: In Mission 6, there is a balcony section. If you stand at the very edge and tap 2 repeatedly without holding it, you can see enemies on the floor below without them seeing you. It is not a programmed feature; it is just how the camera clipping works. Use it to line up free shots.
Headshot Bonus: The game never tells you this, but shooting an enemy in the head does extra damage. Since the crosshair is always centered, aim for the upper body. Two headshots with the pistol drop a standard soldier. Three body shots do the same. That one-bullet difference matters when you are surrounded.
The Corner Trap: Enemies cannot shoot through most solid objects, but their feet sometimes stick out. If you see a red dot behind a crate, crouch with 0 if available, or just aim low and tap 5. You can hit their feet while they cannot hit you back.
Ammo Conservation Secret: In the mission where you defend the extraction point, enemies drop ammo when they die. You do not need to pick it up immediately. Wait until the wave ends, then walk the perimeter and collect everything. If you pick it up during the fight, you might get caught with the pickup animation while another enemy spawns.
Conclusion
That is everything I learned from playing COUNTER TERRORISM 3D on a tiny screen with nothing but a numeric keypad. The game is not about having the fastest reflexes. It is about reading the radar, choosing the right weapon for the room, and never standing still. Apply these button-press techniques in your next session, and you will see the difference immediately. Now get back in there, check those corners, and complete the campaign. Good luck.